Adding a Controller
Learning Objectives
After completing this tutorial, you will have learned:
- How to create a custom controller by inheriting from
BaseController - The basics of robot control using a unicycle model (differential drive kinematics)
- How to use the built-in controllers available in Isaac Sim
Getting Started
Prerequisites
- Complete Tutorial 2: Hello Robot before starting this tutorial.
Estimated Time
Approximately 10 minutes.
Preparing the Source Code
This tutorial continues editing the hello_world.py file from the Hello World sample. If you are continuing from the previous tutorial, you can proceed as-is. If you are resuming on a different day, follow these steps to open the source code:
- Activate Windows > Examples > Robotics Examples to open the Robotics Examples tab.
- Click Robotics Examples > General > Hello World.
- Click the Open Source Code button to open
hello_world.pyin Visual Studio Code.
For detailed instructions, refer to the "Opening the Hello World Sample" section in Hello World.
Creating a Custom Controller
In the previous tutorial, we moved the robot by directly specifying velocities for each wheel. In practice, however, you usually want to control the robot with high-level commands such as "forward velocity" and "angular velocity."
A controller performs this conversion. Controllers in Isaac Sim inherit from BaseController. The only method you need to implement is forward, which must return an ArticulationAction.
The Unicycle Model
For differential drive robots (two-wheeled robots like the Jetbot), the unicycle model is commonly used to calculate each wheel's velocity from a forward velocity \(v\) and angular velocity \(\omega\).
The formulas are as follows:
| Variable | Description |
|---|---|
| \(v\) | Forward velocity (command[0]) |
| \(\omega\) | Angular velocity (command[1]) |
| \(r\) | Wheel radius (wheel_radius) |
| \(L\) | Distance between left and right wheels = tread (wheel_base)1 |
Full Code
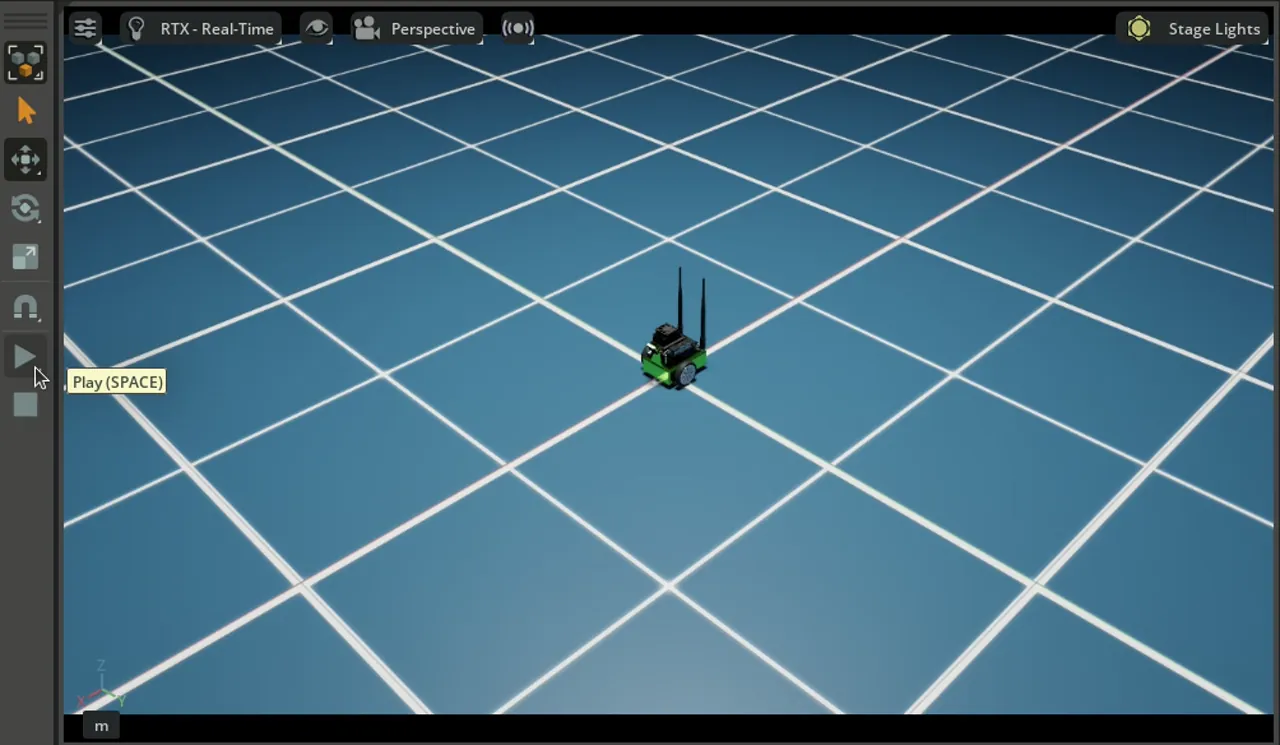
The following code implements the unicycle model in a CoolController class, specifying a forward velocity of 0.20 m/s and an angular velocity of π/4 rad/s to make the Jetbot drive in an arc.
Save the code and verify the simulation:
- Press Ctrl+S to save the code and hot-reload Isaac Sim.
- Click File > New From Stage Template > Empty to create a new world, then click LOAD.
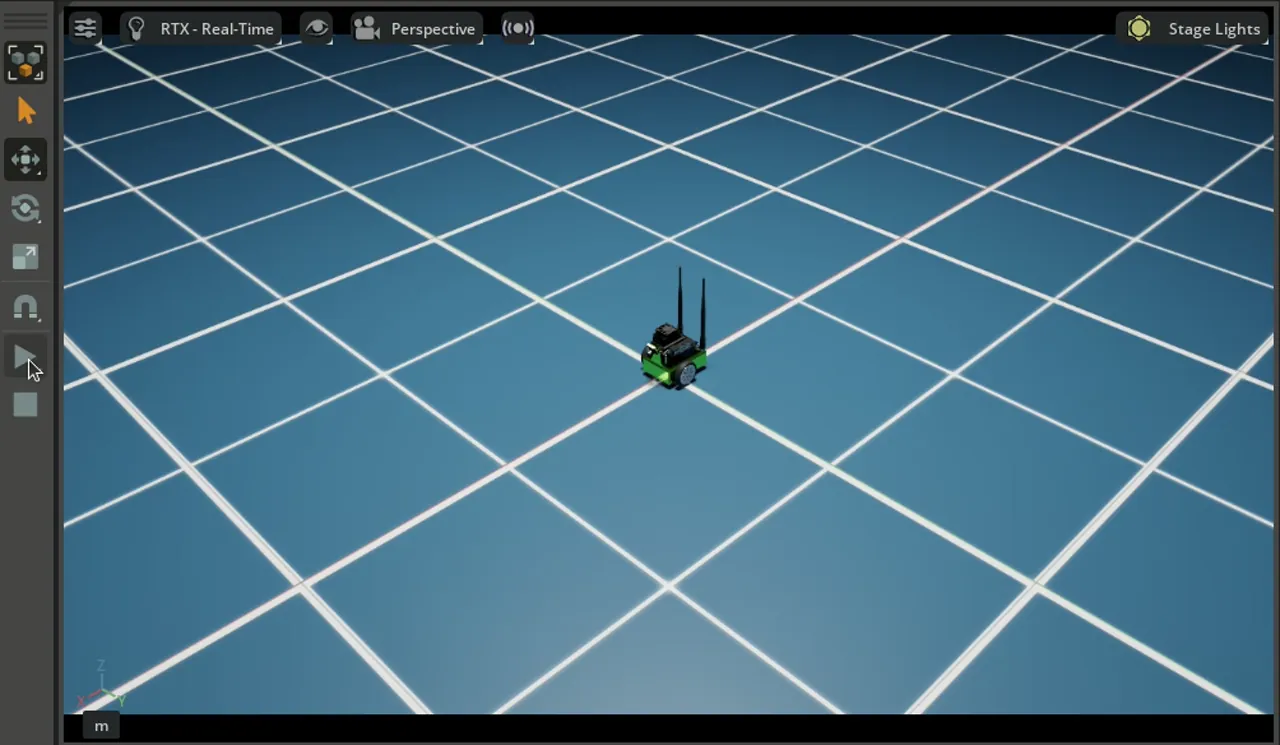
- Press the PLAY button and observe the Jetbot driving in an arc.
Warning
Pressing STOP then PLAY may not properly reset the world. Use the RESET button to restart the simulation.
Key Points for Custom Controllers
- Inherit from
BaseControllerand implement theforwardmethod - The
forwardmethod must return anArticulationAction - Manage robot-specific parameters (wheel radius, wheel base, etc.) within the controller
- The controller's role is to convert high-level commands (forward velocity, angular velocity) into low-level joint commands
Using the Built-in Controllers
Isaac Sim provides built-in controllers for commonly used robot control patterns. By leveraging these, you can avoid implementing kinematics calculations yourself.
Here we combine two controllers:
| Controller | Type | Description |
|---|---|---|
WheelBasePoseController |
Generic controller | Guides the robot toward a goal position. Works with multiple robot types |
DifferentialController |
Robot-specific controller | For differential drive robots. Converts forward/angular velocity to wheel velocities |
WheelBasePoseController uses DifferentialController internally to compute the path to the goal position. Unlike the custom controller in the previous section, you simply specify the robot's current position and a goal position, and the controller automatically guides the robot.
Save the code and verify the simulation:
- Press Ctrl+S to save the code and hot-reload Isaac Sim.
- Click File > New From Stage Template > Empty to create a new world, then click LOAD.
- Press the PLAY button and observe the Jetbot autonomously moving toward the goal position (0.8, 0.8).
Summary
This tutorial covered the following topics:
- Creating a custom controller by inheriting from BaseController
- Differential drive robot kinematics using the unicycle model
- Autonomous navigation to a goal position using WheelBasePoseController and DifferentialController
Next Steps
Proceed to the next tutorial, "Adding a Manipulator Robot," to learn how to add a manipulator robot to the simulation.
Note
The following tutorials continue to use the Extension Workflow for development. Converting to the Standalone Workflow follows the same approach as learned in Hello World.
-
Strictly speaking, the distance between the left and right wheels is called the "tread" (or "track width"), but the Isaac Sim API uses the parameter name
wheel_base. ↩