Hello World
Learning Objectives
After completing this tutorial, you will have learned:
- How to create a World and Scene defined by the Core API
- How to add a rigid body to the Stage and simulate it using Python in NVIDIA Isaac Sim
- The differences between Extension Workflow and Standalone Workflow
Getting Started
Prerequisites
- This tutorial requires intermediate-level knowledge of Python and asynchronous programming.
- Before starting, download and install Visual Studio Code.
- Before starting, review the Quick Tutorials.
Workflow
Isaac Sim can be used as a building block in larger solutions or on its own. Because of this, there are multiple ways to achieve the same goal. These different approaches are called "Workflows."
Details on the 3 Workflows (click to expand)
| Workflow | Key Features | Recommended Use |
|---|---|---|
| GUI | Visual, intuitive tools | World building, robot assembly, sensor attachment, visual programming with OmniGraphs |
| Extension | Async execution, hot-reload, adaptive physics stepping | Testing Python snippets, interactive GUI development, real-time responsive applications |
| Standalone | Full timing control of physics/rendering, headless execution | Large-scale RL training, systematic world generation |
- GUI Workflow: Build simulation environments using only the GUI, without writing code.
- Extension Workflow: Run Python scripts as extensions inside Isaac Sim. Hot-reload (instant reflection on save) enables high development efficiency.
- Standalone Workflow: Launch Isaac Sim directly from a Python script. Provides full control over physics and rendering timing.
The following tutorials primarily use the Extension Workflow, but objects and settings created through the Extension Workflow can also be configured via the GUI, and scripts can be rewritten for the Standalone Workflow.
Opening the Hello World Sample
First, open the Hello World sample.
-
Activate Windows > Examples > Robotics Examples to open the Robotics Examples tab.

-
Click Robotics Examples > General > Hello World.

-
Verify that the Hello World sample extension window appears in the workspace.

-
Click the Open Source Code button to launch the editable source code in Visual Studio Code.

-
Click the Open Folder button to open the directory containing the sample files.

This folder contains the following 3 files:
hello_world.py— Application logichello_world_extension.py— Application UI elements__init__.py
Testing the Sample
Let's try loading the Hello World sample.
-
Click the LOAD button to load the world.

-
To clear the loaded world and return to the initial state, click File > New From Stage Template > Empty to create a new stage, then click Don't Save at the save confirmation.


-
Click the LOAD button to reload the world.
-
Click the Open Source Code button, open
hello_world.py, and press Ctrl+S to hot-reload. The Hello World window will disappear from the workspace (because the extension restarted).
-
Reopen the Robotics Examples menu and click the LOAD button.
Now let's extend the Hello World sample step by step.
Code Overview
From here, we will incrementally extend the code in hello_world.py. First, let's understand the basic structure of the sample.
This example inherits from BaseSample. BaseSample is a boilerplate class that handles the basic setup of robotics extension applications, providing the following features:
- Load the world with corresponding assets via button clicks
- Clear the world when a new stage is created
- Reset objects in the world to their default states
- Handle hot-reload
World is the core class for interacting with the simulator in a modular way. It manages callbacks, physics stepping, scene resets, and more.
Scene is an instance held within World that manages simulation assets in the USD Stage. It provides a simplified API for adding, manipulating, inspecting, and resetting assets.
Singleton World
World is a singleton. This means only one World can exist while NVIDIA Isaac Sim is running.
In the previous section, we used self.get_world() to retrieve the World, but World.instance() also returns the same instance. Both return the identical object, but here is a guideline for when to use each:
| Method | When to Use |
|---|---|
self.get_world() |
Inside classes that inherit from BaseSample (typical tutorial development) |
World.instance() |
Accessing from separate files or extensions that do not inherit from BaseSample |
The following code shows how to access the World using World.instance(). This approach allows you to access the current World even from classes or extensions that do not inherit from BaseSample.
Adding to the Scene
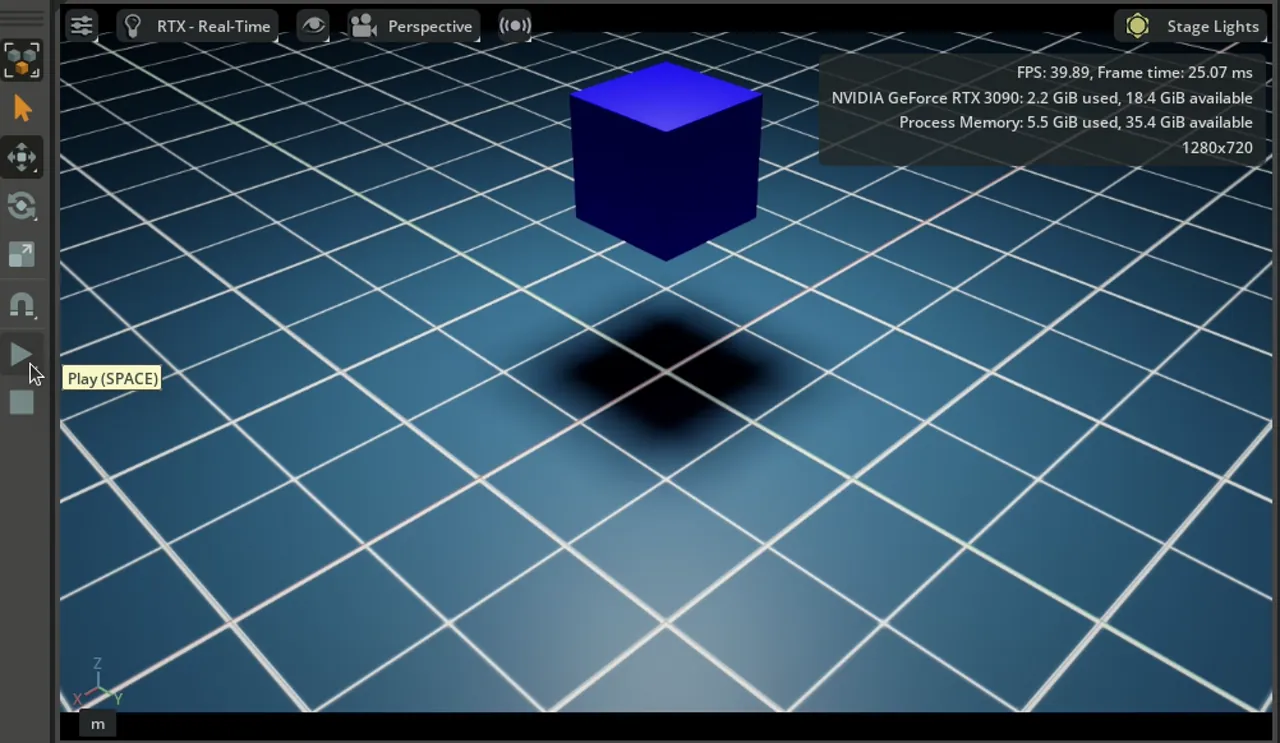
Use the Python API to add a cube as a rigid body to the scene.
Save the code and verify the simulation:
- Press Ctrl+S to save the code and hot-reload Isaac Sim.
- Reopen the Hello World sample extension window.
- Click File > New From Stage Template > Empty to create a new world, then click LOAD. This is required whenever changes are made to
setup_scene. - Press the PLAY button to start the dynamic cube simulation and observe it falling.
Note
Every time you edit code, press Ctrl+S to save and hot-reload Isaac Sim.
Inspecting Object Properties
Next, let's print the cube's world coordinates and velocity.
Here we introduce a new method, setup_post_load. The differences from setup_scene are:
| Method | When Called | Purpose |
|---|---|---|
setup_scene |
Only on first load from an empty stage | Place assets |
setup_post_load |
Every time the LOAD button is pressed | Initialization after physics handles become active |
setup_post_load is called after one physics simulation step, so it can retrieve physical properties such as position and velocity.
Continuous Inspection of Object Properties During Simulation
Print the cube's pose and velocity on every physics step during simulation.
As mentioned in the Workflow section, in the Extension Workflow, the application runs asynchronously and you cannot directly control physics step timing. However, you can register physics callbacks to execute custom logic before each physics step.
Resetting the World
To return objects to their initial state during simulation, use the RESET button. Processing needed after a reset can be handled via the setup_pre_reset and setup_post_reset callbacks.
Tip
Calling world.reset() returns all objects to the initial state set in setup_scene. In the Standalone Workflow, calling world.reset() after adding assets properly initializes physics handles.
Converting to a Standalone Application
Note
On Windows, use python.bat instead of python.sh.
As mentioned in the Workflow section, the Standalone Workflow launches Isaac Sim directly from Python, giving you full control over physics and rendering timing.
Standalone scripts must be run using Isaac Sim's bundled Python interpreter (python.sh), located in the Isaac Sim installation directory.
You can place the script anywhere, but for simplicity, we recommend placing it in the same user_examples directory as the Hello World sample:
<Isaac Sim installation directory>/
├── python.sh                    # Isaac Sim's bundled Python interpreter
└── exts/
    └── isaacsim.examples.interactive/
        └── isaacsim/examples/interactive/
            └── user_examples/
                └── my_application.py   # ← Create here
Tip
python.sh (or python.bat on Windows) is a dedicated Python environment that includes all dependencies required by Isaac Sim. Running with your system Python will result in module-not-found errors.
Create a new my_application.py file in the directory shown above with the following code:
Navigate to the Isaac Sim installation directory and run the script with the following command:
cd <Isaac Sim installation directory>
./python.sh ./exts/isaacsim.examples.interactive/isaacsim/examples/interactive/user_examples/my_application.py
Summary
This tutorial covered the following topics:
- Overview of the World and Scene classes
- Adding content to the Scene with Python
- Initialization with
setup_post_loadand retrieving physical properties - Adding physics callbacks
- Converting to a Standalone application
Next Steps
Proceed to the next tutorial, "Hello Robot," to learn how to add a robot to the simulation.
Note
The following tutorials primarily use the Extension Workflow for development. However, based on what you learned in this tutorial, converting to other Workflows follows the same approach.